
Table of Contents
Backup to and Restore from a Disk Image in Linux
OS Images
The following OS images have been prepared for your convenience:
- cpcv5_korean_linux_image ← Korean
- cpcv5_english_linux_image ← English
Username: cupc
Password: comfile
The image was created using the procedure described at Installing Linux on the CPCV5 Panel PCs. It can be used for all CPCV5 models. Use the procedure at restore from a disk image to install it onto a CPCV5 panel PC.
Create the Bootable Installation Media
For both the backup and restore procedure, you will need to create a bootable live Linux installation. Use the following procedure to create a bootable live Linux installation on a USB drive.
- Create a bootable USB drive using the instructions at https://ubuntu.com/tutorials/create-a-usb-stick-on-ubuntu. Use the “Ubuntu Desktop” ISO from https://ubuntu.com/download/desktop.
- If you want to use a single USB drive to boot and to store the disk image, create a partition on the USB drive large enough to store the disk image (which could be as larger as 120GB). If you'd like the partition accessible in both Linux and Windows, format it using the exFat file system.
Boot from the Installation Media
- Plug the newly created bootable USB drive into any one of the USB ports
- Turn on the panel PC.
- When the BIOS screen appears, press F7 to display the boot selection screen.
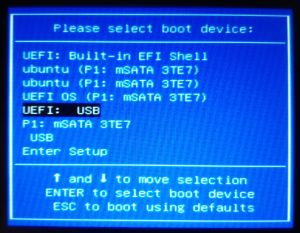
- Choose the “UEFI: USB” option and press the Enter key
- When the Grub menu appears, select the “Ubuntu” option (the first and default option), and press the Enter key.
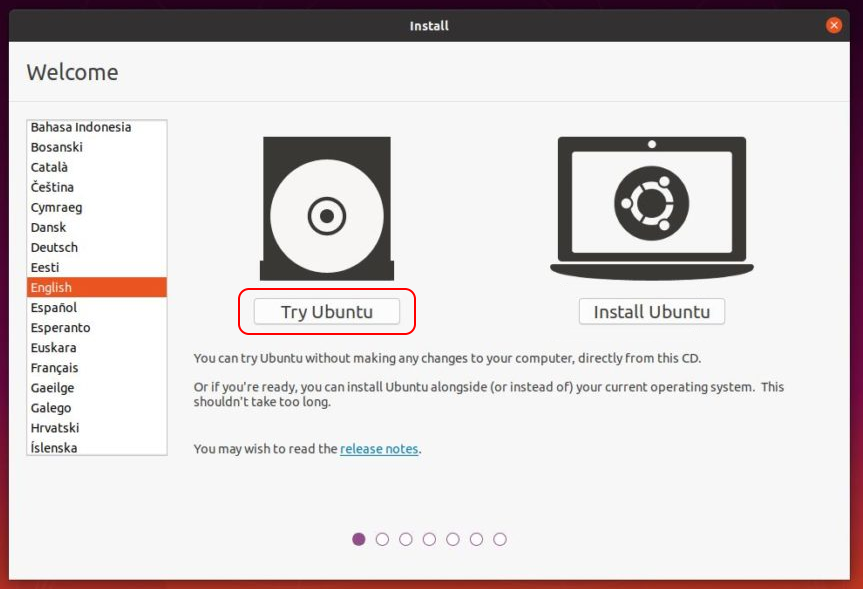
- When the install media boots, it will automatically start a GUI installer. Select “Try Ubuntu” and wait for the Ubuntu desktop to appear.


Backup to a Disk Image
After booting from the installation media, if your USB disk does not have space to store the disk image, connect an additional USB removable drive with enough space to store the disk image, which could be as large as 120GB.
Using the Gnome Disks Utility
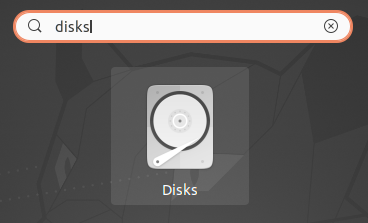
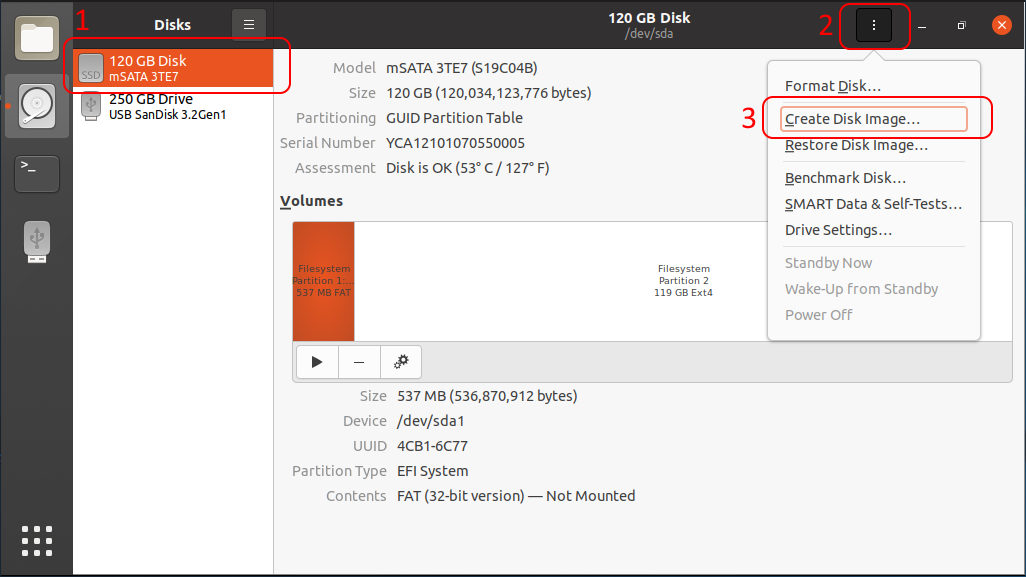
- Run the Gnome Disks utility from the Ubuntu programs menu.
- Select the 120GB Disk, and then choose “Create Disk image…”.
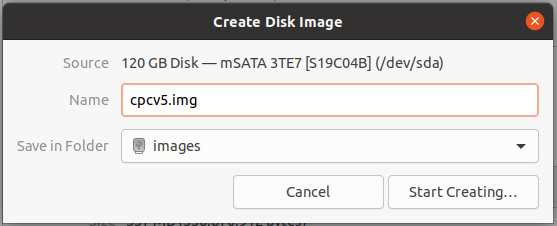
- Create a file name for the image, choose the folder to store the image, and then press the “Start Creating…” button to begin the process.
- Wait for the process to finish. It could take a couple of hours to finish.

- To make the .img file smaller use the command
xz cpcv5.img. It will produce a file named cpcv5.img.xz file which will be a significantly smaller file to restore from.


Using the Terminal
To backup to a compressed image using a terminal, simply run the following command:
sudo sh -c "dd if=/dev/sda status=progress | xz -c > /media/cupc/1708-B3F/cpcv5.img.xz"
Replace /media/cupc/1708-B3F/cpcv5.img.xz with the location where you wish to store your disk image.
It may take a couple of hours to complete.
Restore from a Disk Image
Using the Gnome Disks Utility
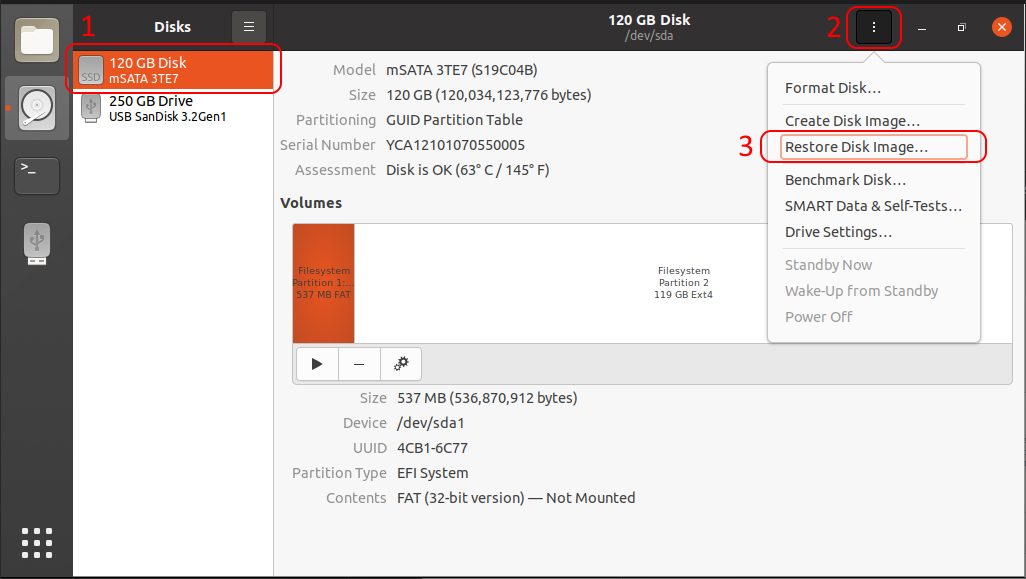
- Run the Gnome Disks utility from the Ubuntu programs menu.
- Select the 120GB Disk, and then choose “Restore Disk image…”.
- Browse to the location of the image file.
- Press the “Start Restoring…” button.
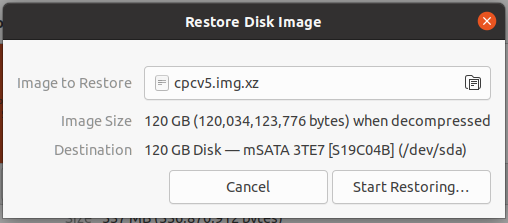
- Confirm by pressing the “Restore” button.
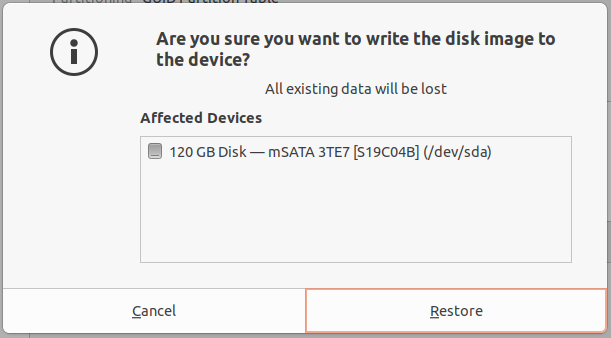
- Wait for the restore process to complete. It may take a couple of hours to finish.


Using the Terminal
To restore from a compressed image in a terminal, simply run the following command:
sudo sh -c "xz -d -c /media/cupc/1708-B3F/cpcv5.img.xz | dd of=/dev/sda status=progress"
Replace /media/cupc/1708-B3F/cpcv5.img.xz with the location of your compressed disk image.
It may take a couple of hours to complete.